This document attempts to provide a starting point to those who want to customize the MSI more than what is allowed through Visual Studio.
How to Obtain ORCA?
It’s installation is available when Windows SDK is installed. The installation is named ORCA.msi. After the successful completion of installation ORCA.exe will be available in Program Files
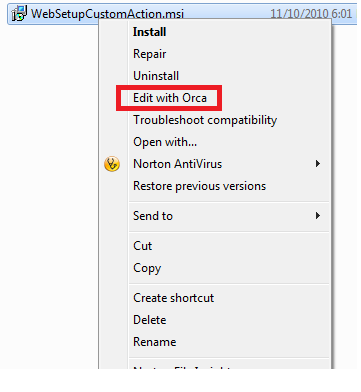
Editing installer in ORCA: After installation if you right click an installer, “Edit with ORCA” option will be available.
 Otherwise you can open ORCA and click File-Open to get the traditional FileOpen Dialog.
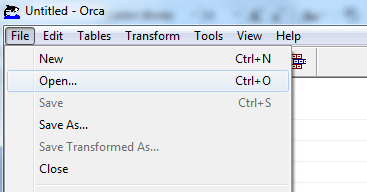
Once the file is opened a list of tables will be displayed. These tables contain various aspects of information that direct windows installer about how to execute the MSI file.
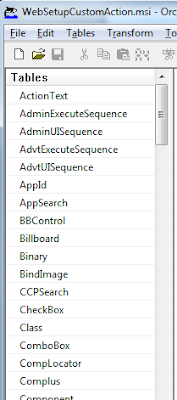
In case you want to modify the control types or labels you can select the “Control” element form the “Tables” list
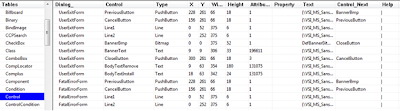 The values in the Type column in control table can be modified if required. For example, if it is desired to display something as ReadOnly, we can change the type from Edit to Text.
The Text property holds the font, followed by contents. The contents can be changed to desired values. It must also be noted that in some cases Text property holds a property rather than literal value e.g [TARGETAPPPOOL].
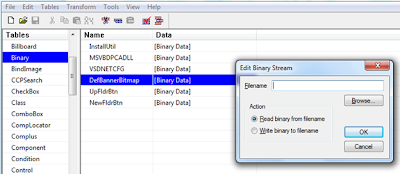
Another Table is “Binary” which holds things like banner image. We can double click any entry to change the file associated with it.
Important Points to Remember:
Please note that all changes that you make in installer will be overridden when you recompile the installer, for example through Visual Studio.
In addition, remember that orca can only modify MSI files not exe. The setup.exe generated while creating MSI through Visual Studio actually calls the corresponding MSI file. Therefore changes in MSI will effect Setup.exe automatically
No comments:
Post a Comment